Introduction
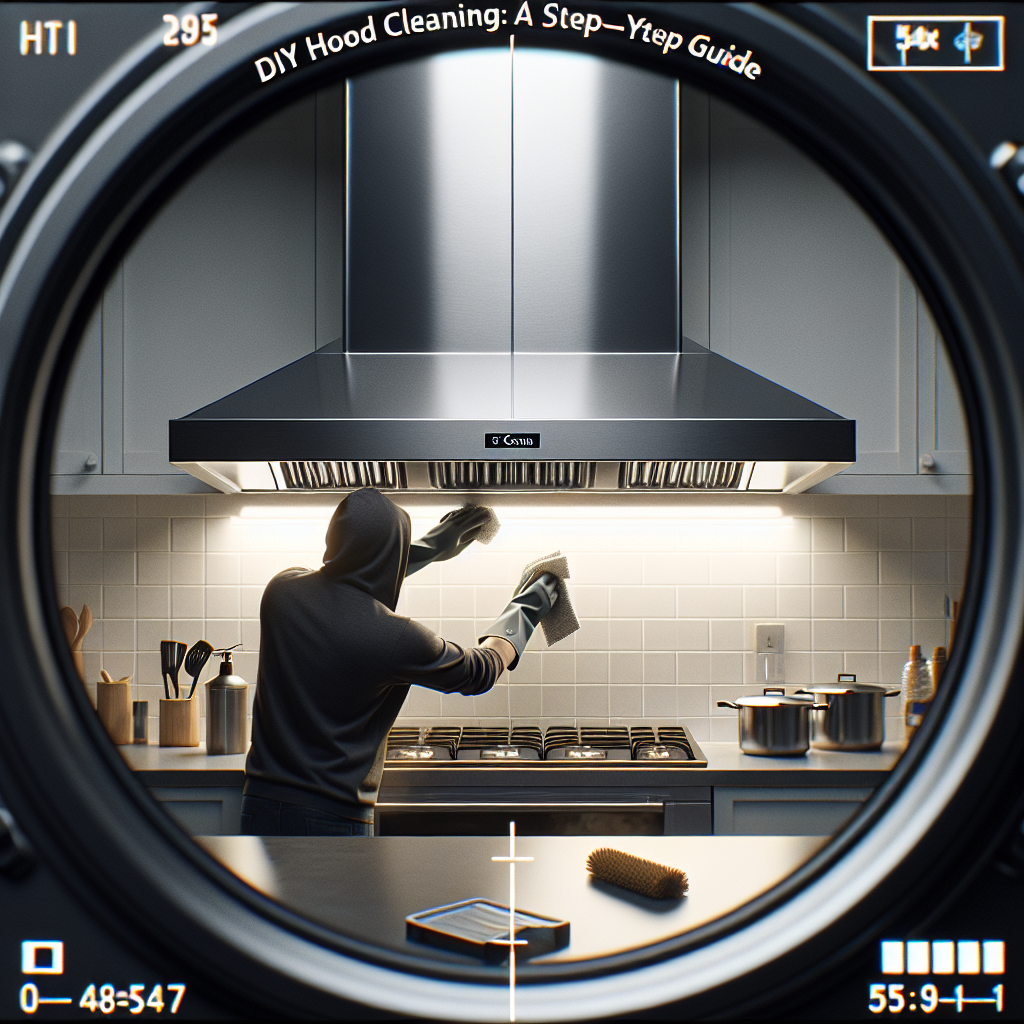
For restaurant owners and commercial kitchen managers, clean hoods are not just a luxury—they are an absolute necessity. Maintaining a spotless hood system in your kitchen isn’t just about compliance with health regulations; it’s an investment in the safety and efficiency of your operations. In this DIY guide, we’ll walk you through the step-by-step process of hood cleaning, whether you’re tackling restaurant hood cleaning or commercial kitchen hood cleaning. This simple yet comprehensive guide is perfect if you’re ready to take on exhaust hood cleaning yourself and save some money in the process.
Step 1: Gather Your Cleaning Supplies
Before getting started, you’ll need to gather your supplies. Here’s a checklist of the essential items:
- Heavy-duty rubber gloves
- Protective eyewear
- Scrub brushes in varying sizes
- Degreasing cleaner
- Buckets of hot water
- Plastic tarps or drop cloths
- Sponges and microfiber cloths
It’s crucial to have the right supplies when performing commercial kitchen hood cleaning to ensure efficiency and safety.
Step 2: Prepare Your Kitchen Area
Once you have all your supplies, it’s time to prepare the kitchen for cleaning. Cover any areas that might be exposed to grease splatters or cleaning chemicals using plastic tarps or drop cloths. Ensure that all appliances under the hood are turned off and, if possible, moved away to provide a clear workspace. Preparing your kitchen area helps in minimizing the mess and makes the cleanup faster and easier.
Step 3: Disassemble the Hood
Most hoods can be partially disassembled to allow for more detailed cleaning. Begin by removing the grease filters and setting them aside. These filters are usually the dirtiest part of the hood and will need special attention later. If your hood has any removable components, such as splash guards, grates, or baffles, take them out and put them in a safe place.
Step 4: Soak and Scrub Filters
Place the greasy filters into a solution of hot water and a degreasing cleaner. Let them soak for at least half an hour to loosen the grease. After soaking, use a scrub brush to thoroughly clean the filters, making sure to get into all the nooks and crannies. Rinse them well with hot water and set them aside to dry.
Step 5: Clean the Interior and Exterior
Spray the interior and exterior surfaces of the hood with a degreasing cleaner. Let the cleaner sit for about 10 minutes to break down the grease. Using a scrub brush, start scrubbing the interior surfaces, making sure to reach all corners. Follow with the exterior, paying special attention to any seams or joints where grease tends to accumulate. For stubborn grease spots, you may need to repeat this process.
Step 6: Rinse and Wipe Down
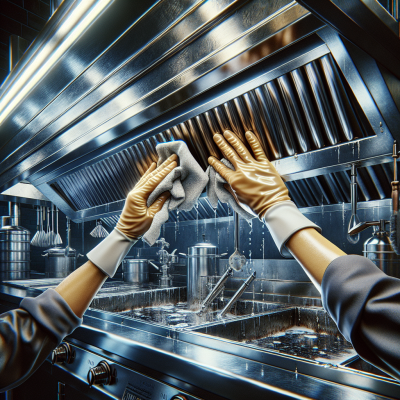
With a bucket of hot water and a sponge, rinse the interior and exterior surfaces to remove any remaining grease and cleaning solution. After rinsing, use a microfiber cloth to wipe everything down until it’s completely dry. Proper drying prevents any new grime from sticking to the surfaces immediately after cleaning.
Step 7: Reassemble the Hood
Once everything is clean and dry, it’s time to reassemble the hood. Start by placing the clean filters back into their positions. If you removed any other components such as splash guards or baffles, reattach them as well. Make sure everything is securely in place and that the hood operates as it should.
Step 8: Final Inspection
Before calling it a day, perform a final inspection of your work. Ensure that all surfaces are free of grease and grime, and that the hood is functioning correctly. If you spot any areas that need further attention, now’s the time to address them.
Conclusion
By following these detailed steps, you can handle hood cleaning efficiently and effectively, ensuring your kitchen runs smoothly and safely. While professional services are always an option, doing it yourself can save you money and give you a better understanding of the state of your equipment. For more tips and expert advice on hood cleaning in Charlotte, keep an eye on our blog for future posts!


